|
Do you want to learn how to upgrade your kitchen faucet yourself? Plumbing repairs in any form can be a scary idea. But upgrading your kitchen faucet is not as difficult as it might seem. 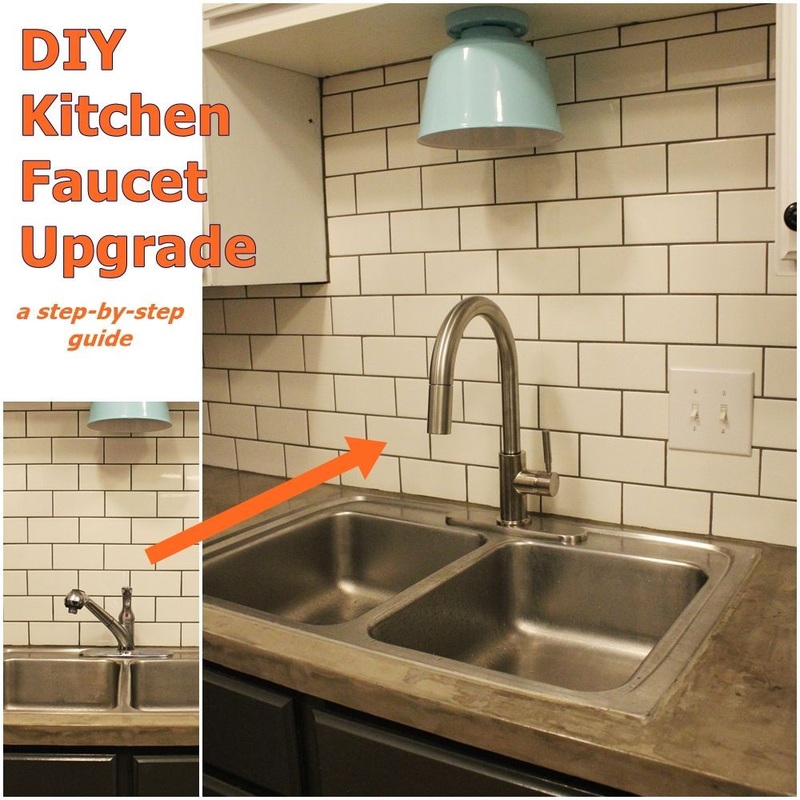 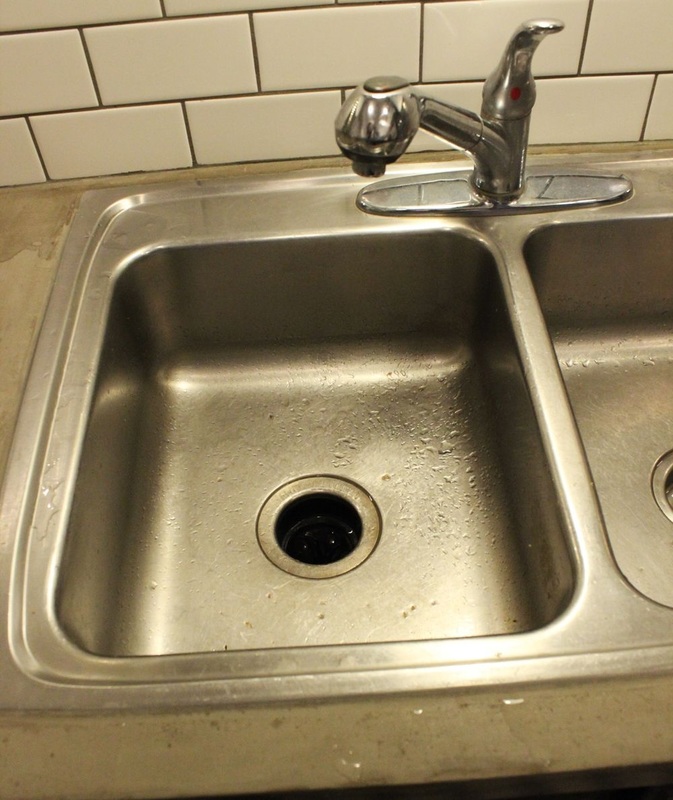 Especially when you come out to your kitchen sink in the morning and find that your kitchen faucet has been dripping all night… 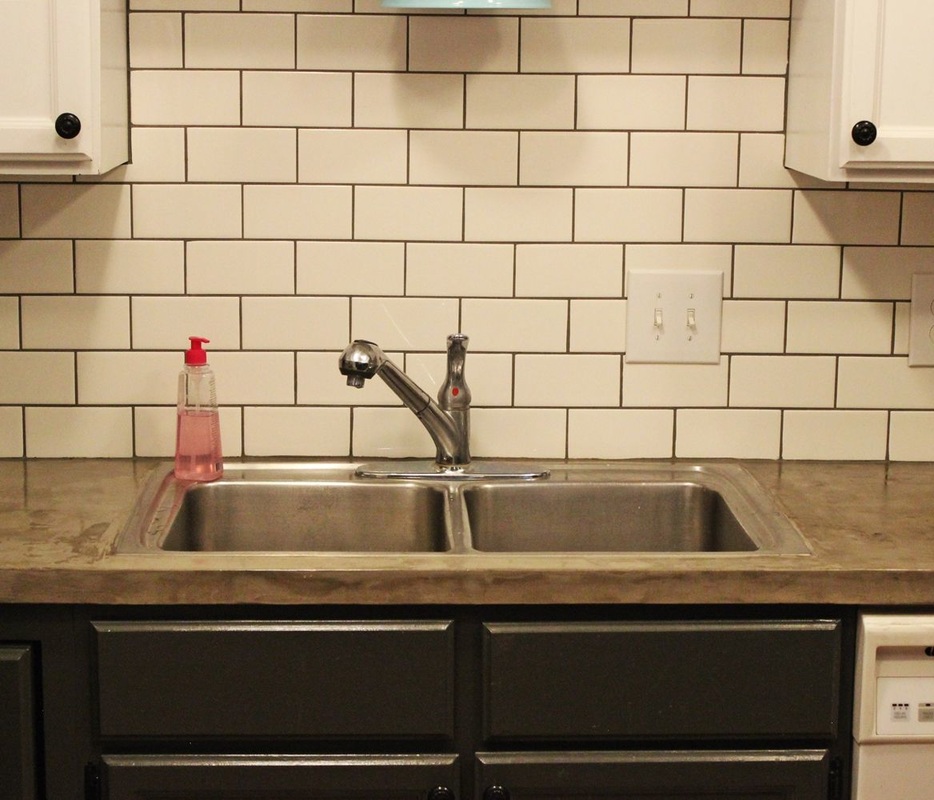 …or you find yourself consistently underwhelmed by your faucet’s lack of personality or style, it might be time to consider a kitchen faucet upgrade. If you think it’s time to make a statement in your kitchen, this article is for you. Let a new kitchen faucet showcase your style better; and let the installer of that faucet be YOU! This step-by-step tutorial provides plenty of photographic guidance to help you make the change. Let’s begin. 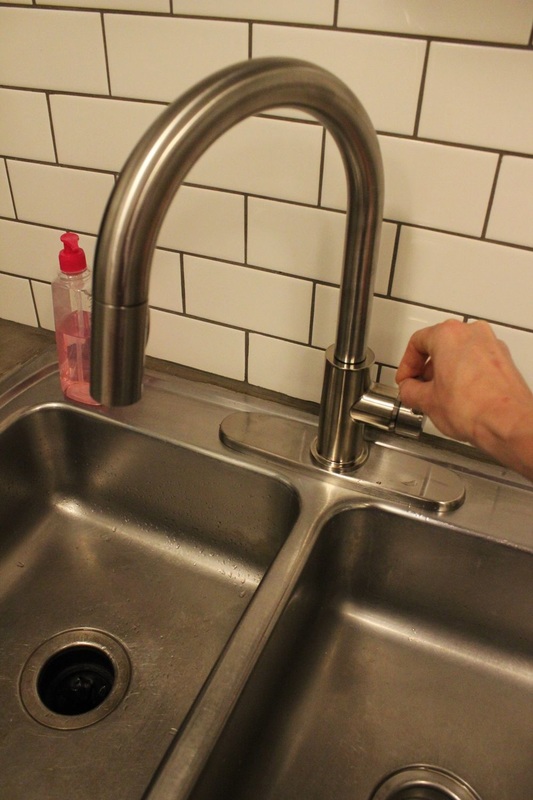 DIY Level: Intermediate Materials Needed:
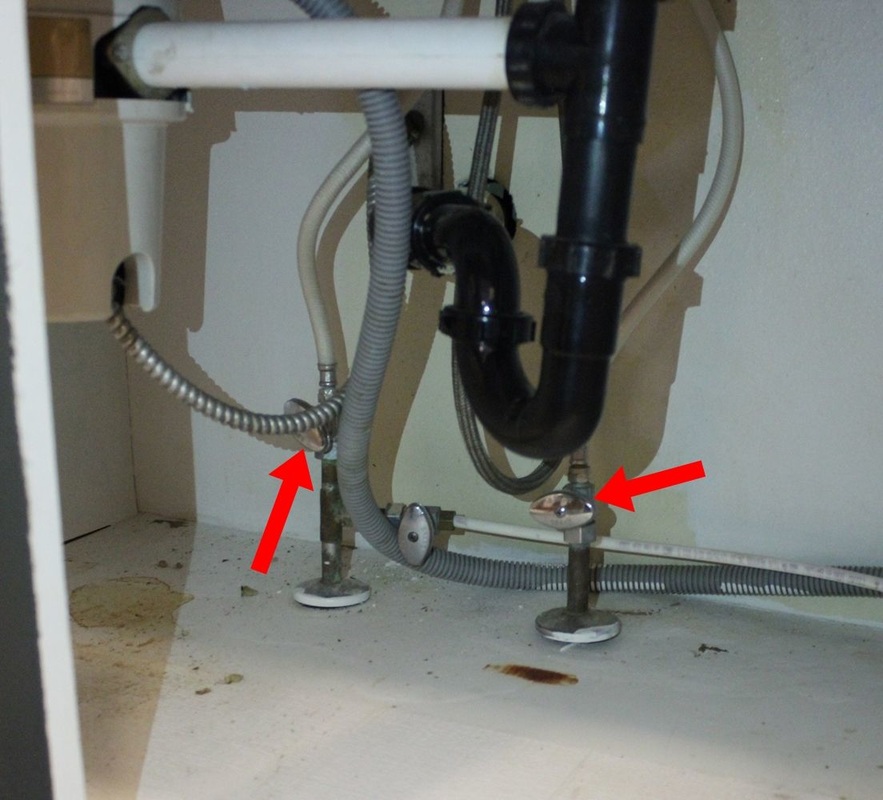 To begin, after you’ve cleaned out under your kitchen sink, you’ll need to turn off the water to your faucet. Turn off the Hot and Cold water sources. (Tip: These will have visible hoses running directly up to the faucet’s base.) 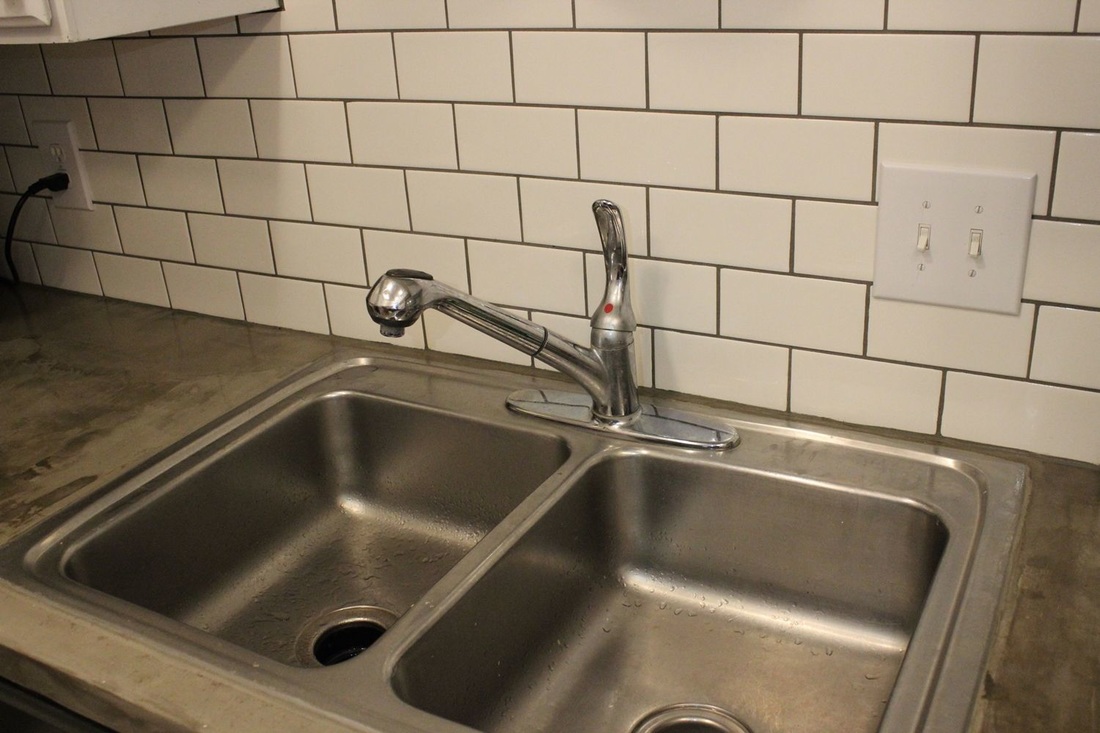 After you’ve turned off both water sources, turn the faucet on. A little residual water may run out, but then it should be dry. 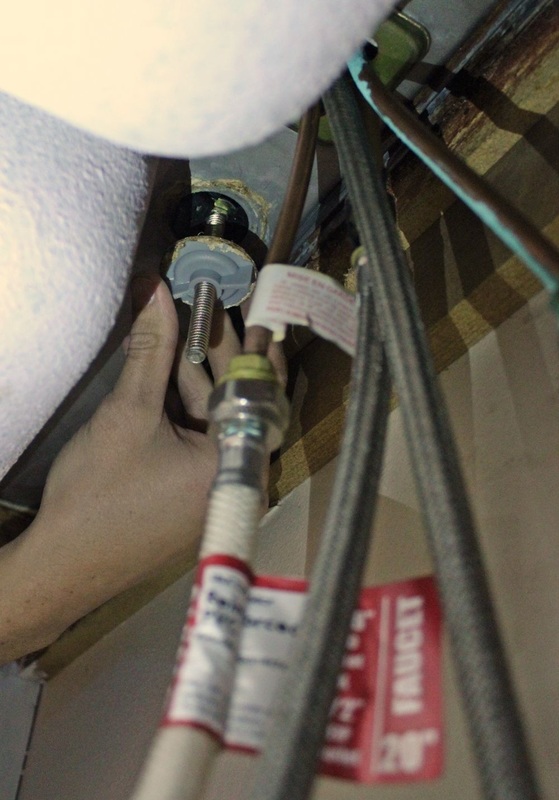 If your faucet has an escutcheon (the “optional” 10” mounting plate that rests under the base of the faucet shank), you’ll need to loosen this. Reach up under the faucet and unscrew and remove the two mounting nuts from the two mounting bolts/shanks.  Since your water is now turned off, you have no need for the hoses up to your faucet. Disconnect these (red arrows in the photo). Also disconnect the faucet outlet hose from the faucet-mounting bolt (blue arrow in the photo). 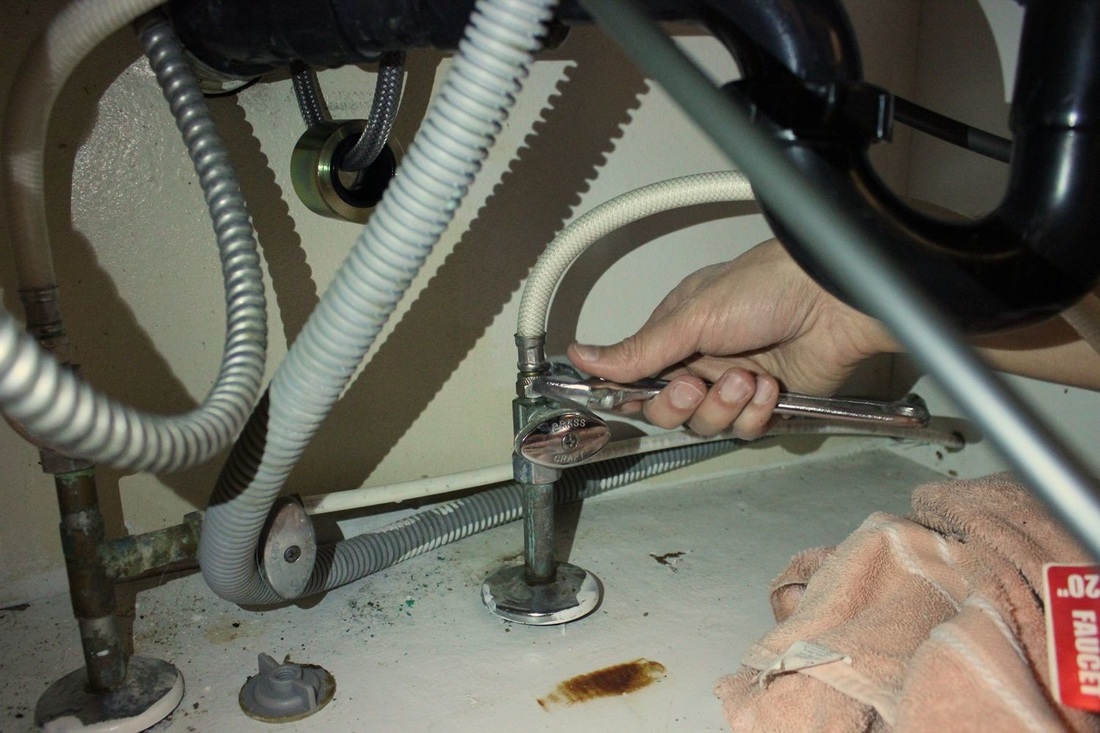 (Tip: Some faucets may have additional-length hoses that connect the faucet to the water source; some faucets may have hoses that are long enough to connect themselves. Either way, disconnect them all.) 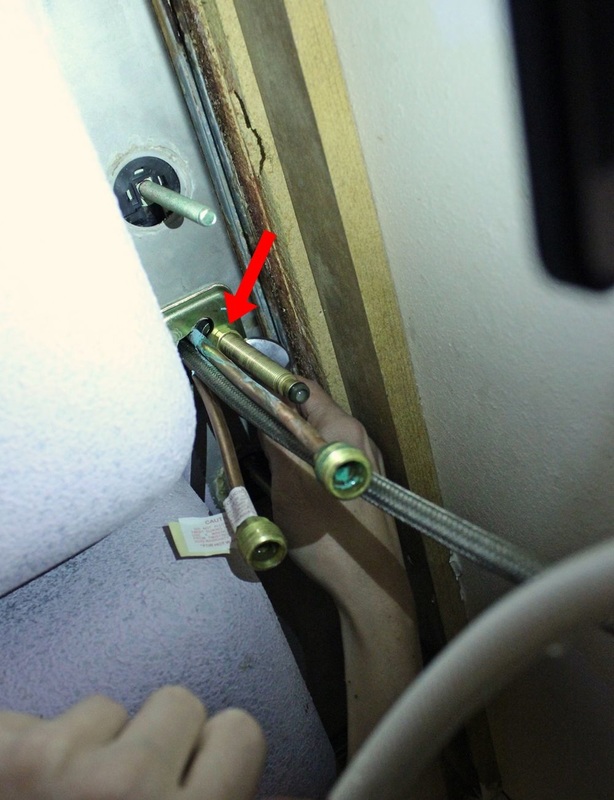 Use a crescent wrench to unscrew the nut from the faucet-mounting bolt. 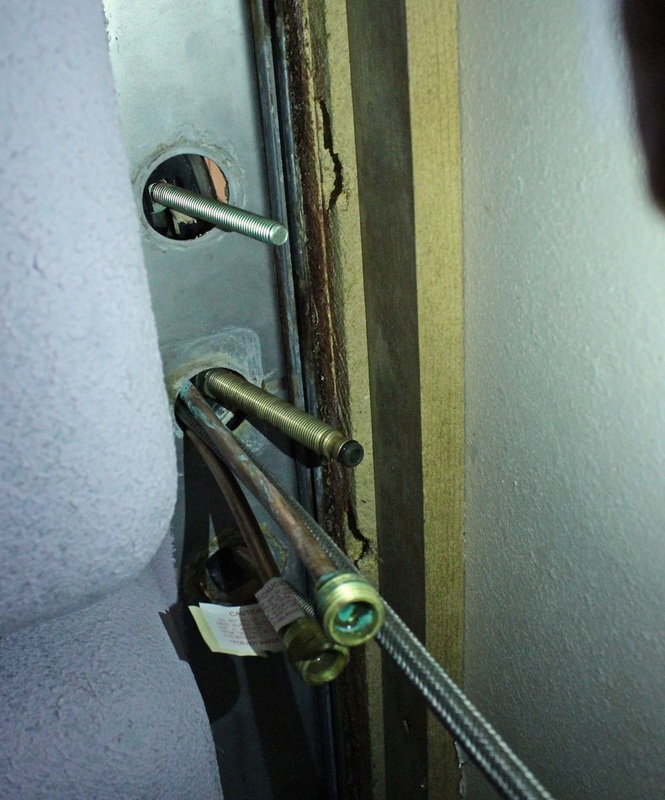 Everything is disconnected at this point – the two escutcheon mounting bolts, the water hoses, and the faucet mount. 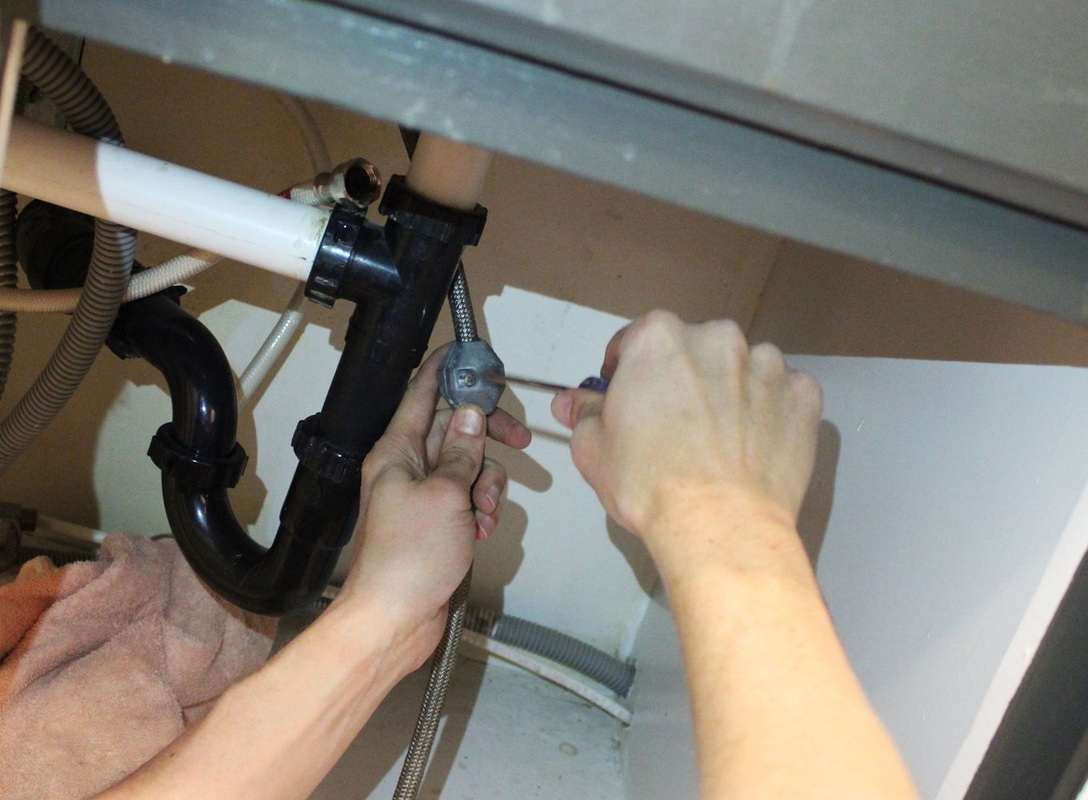 Use a screwdriver to loosen the weight from the faucet hose. 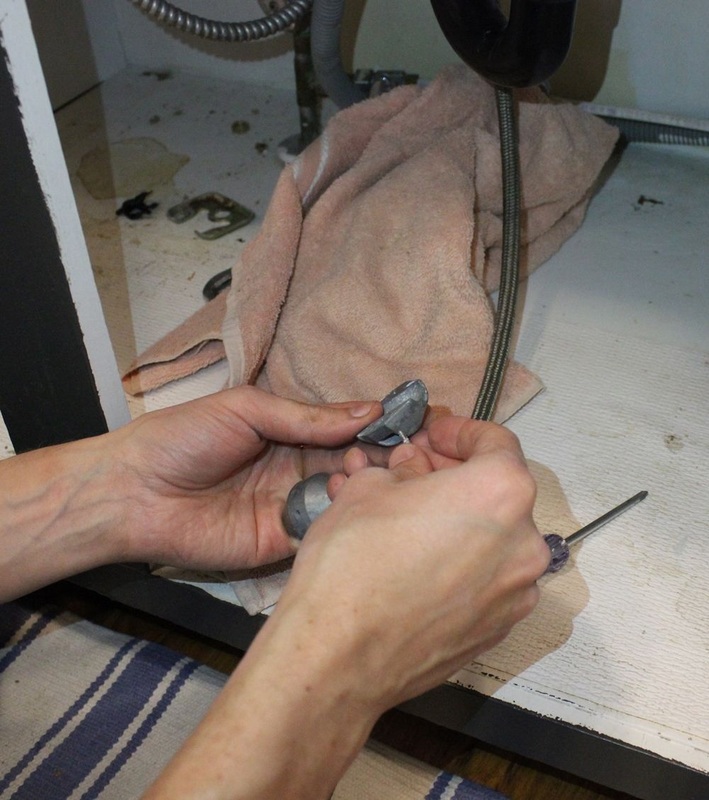 Remove the weight from the hose. 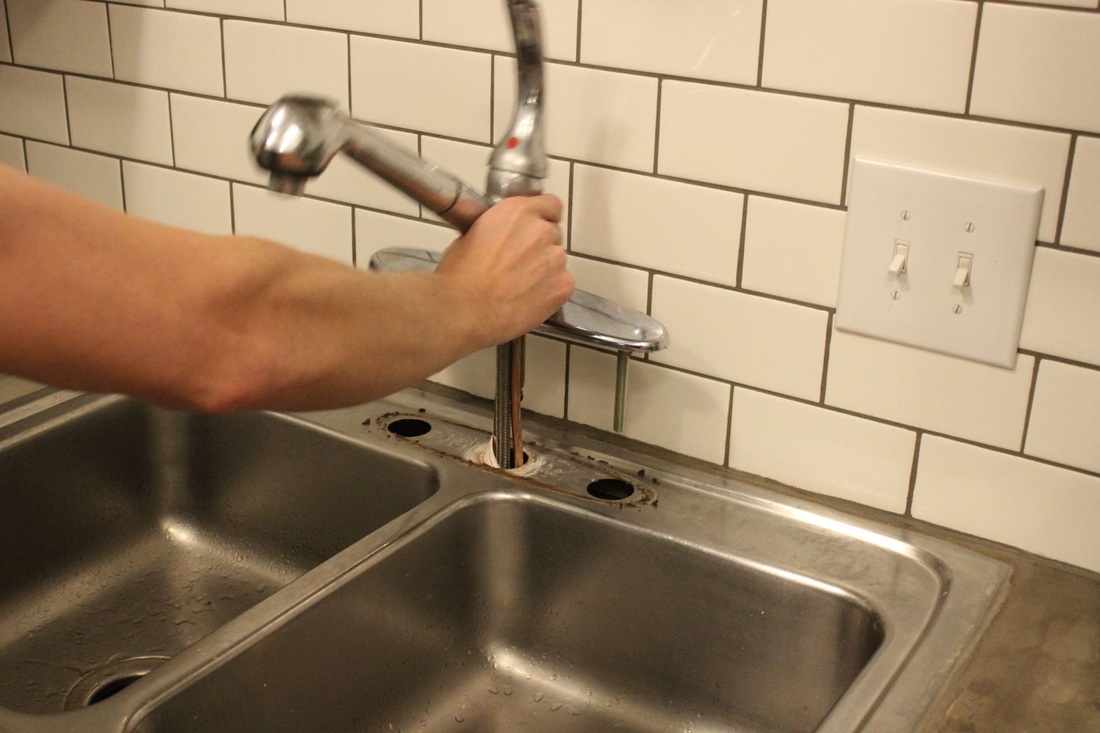 With everything disconnected, it’s time to remove your old faucet. 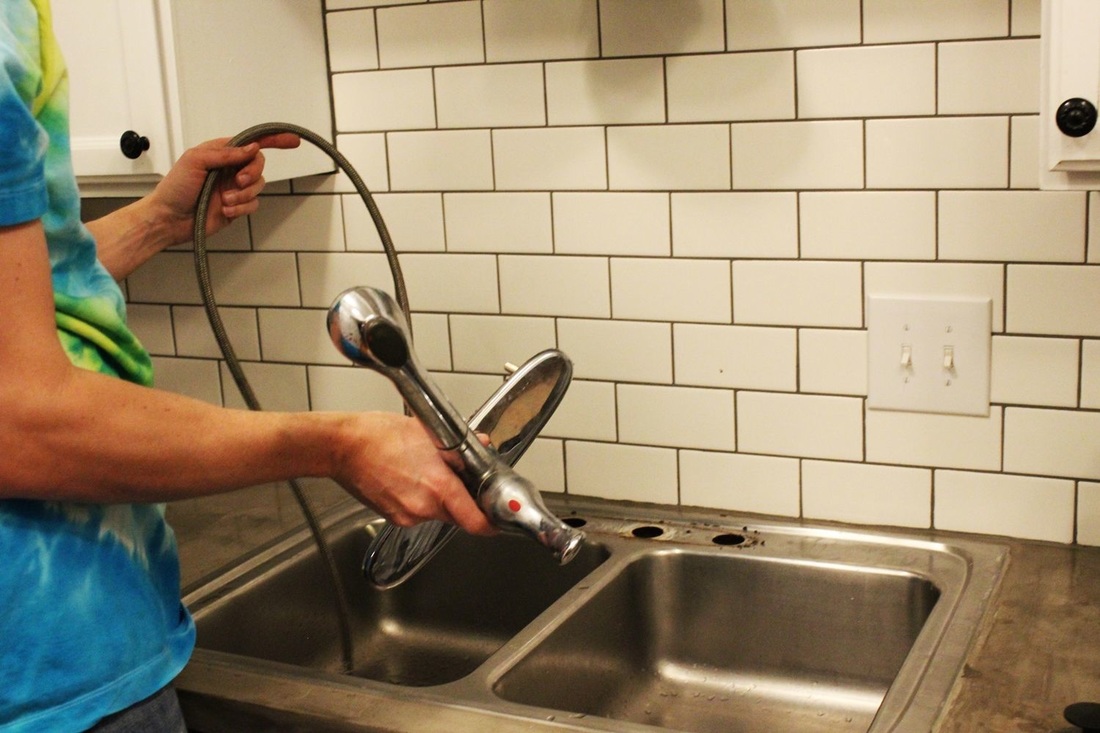 Pull the kitchen faucet and all of its connected pipes, tubes, hoses, whatever, up and out of the sink holes. 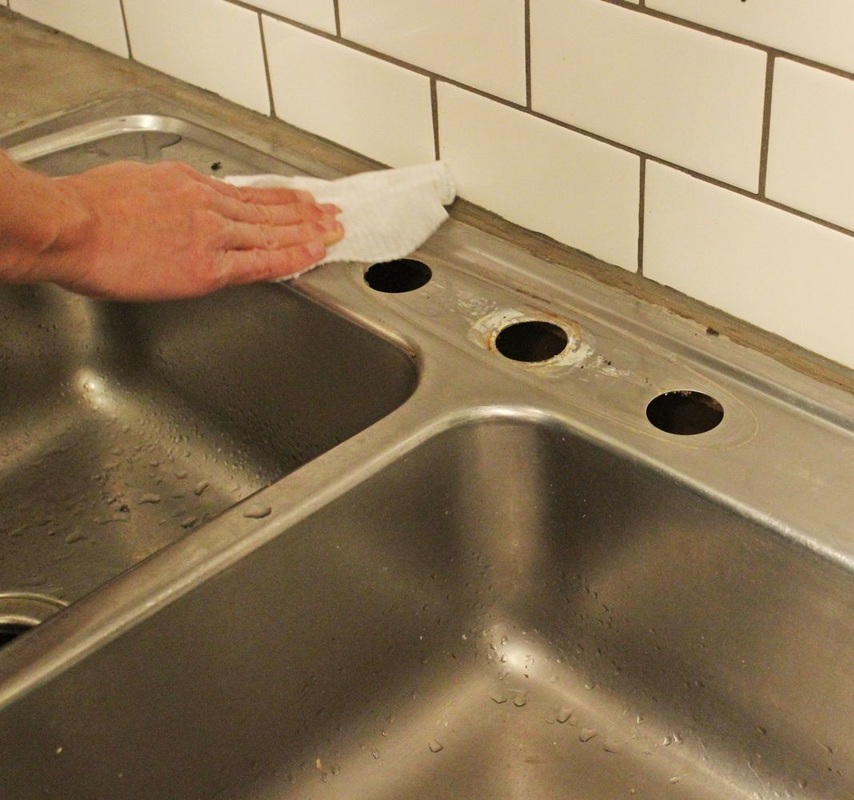 Clean the sink-top around the faucet holes and edge of old escutcheon plate. 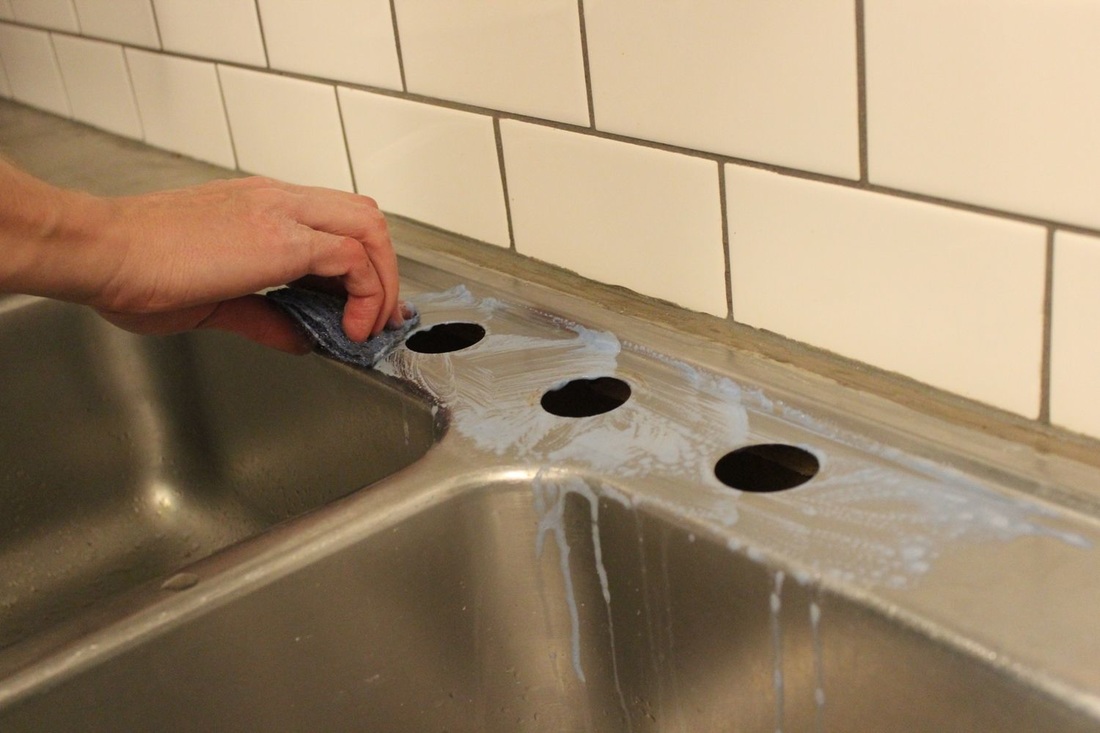 (Tip: If you choose to use an S.O.S. scouring pad, be careful not to scrape your sink’s surface too much.) 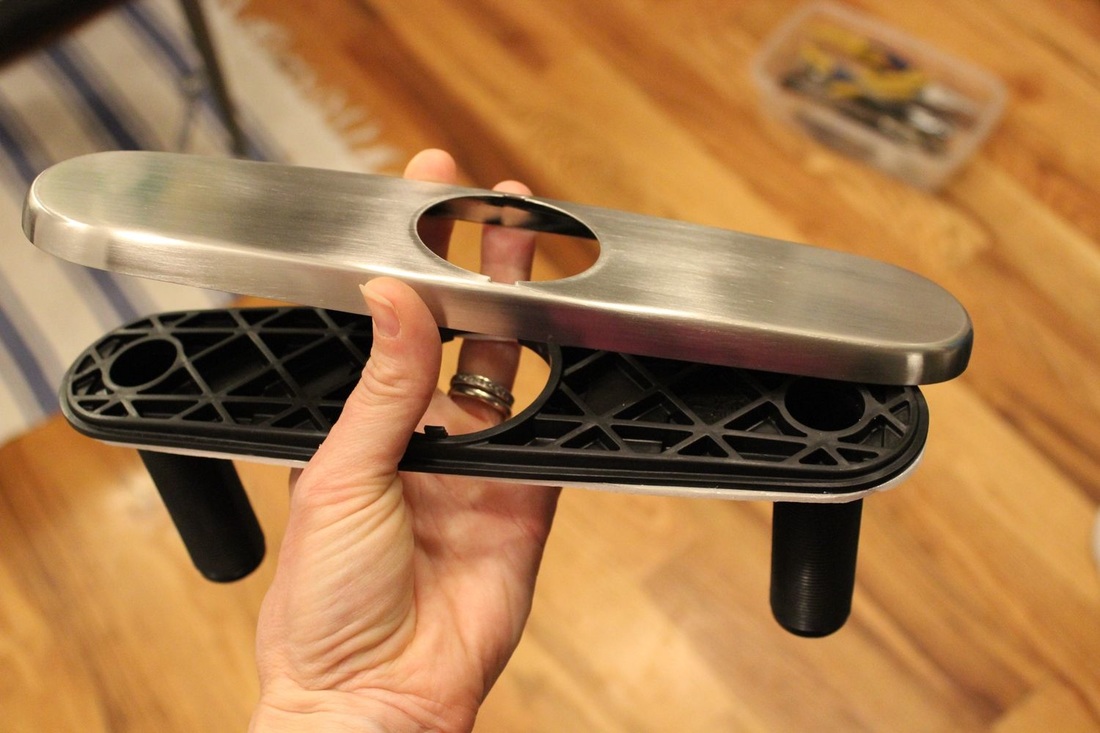 Grab the new escutcheon and under cover plate. 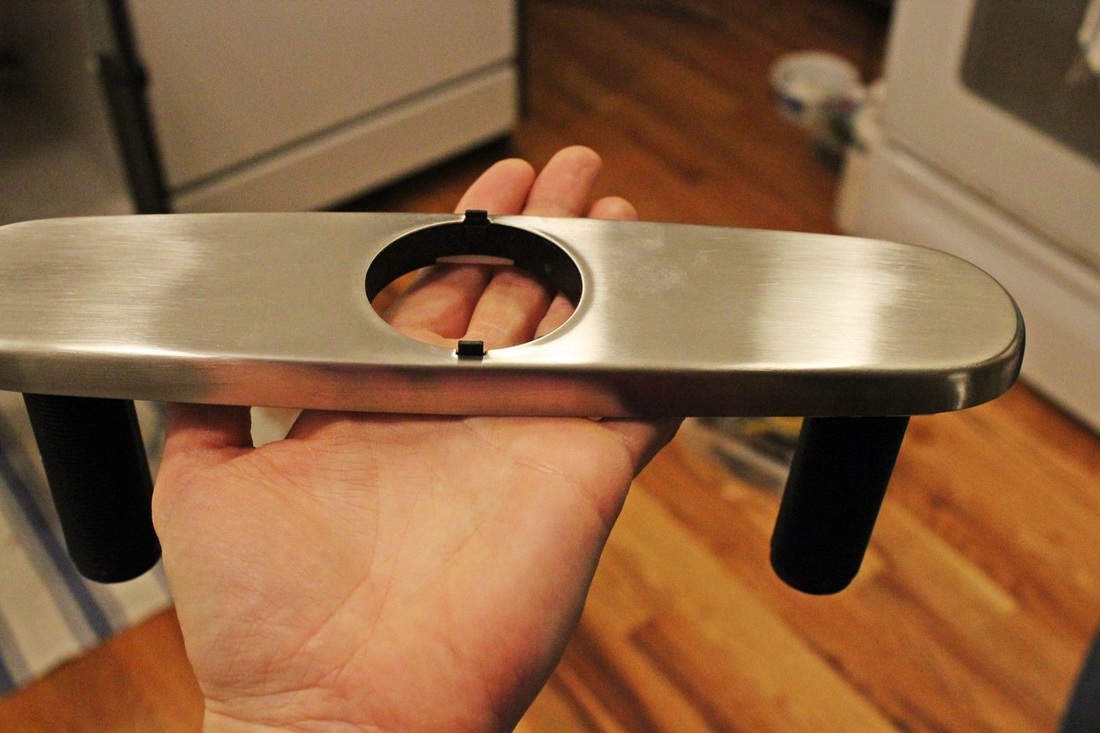 Attach them together. They won’t snap together, but they should fit snugly. 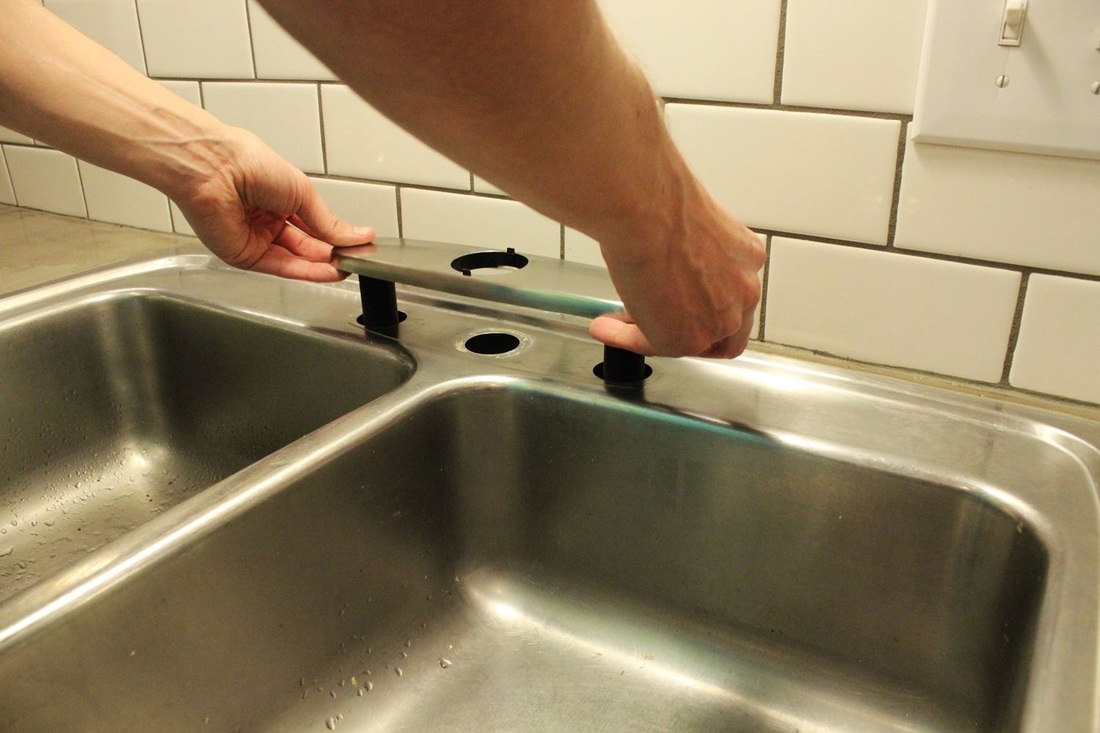 Place the escutcheon and under cover plate onto sink-top, with plate shanks going through the sink holes. 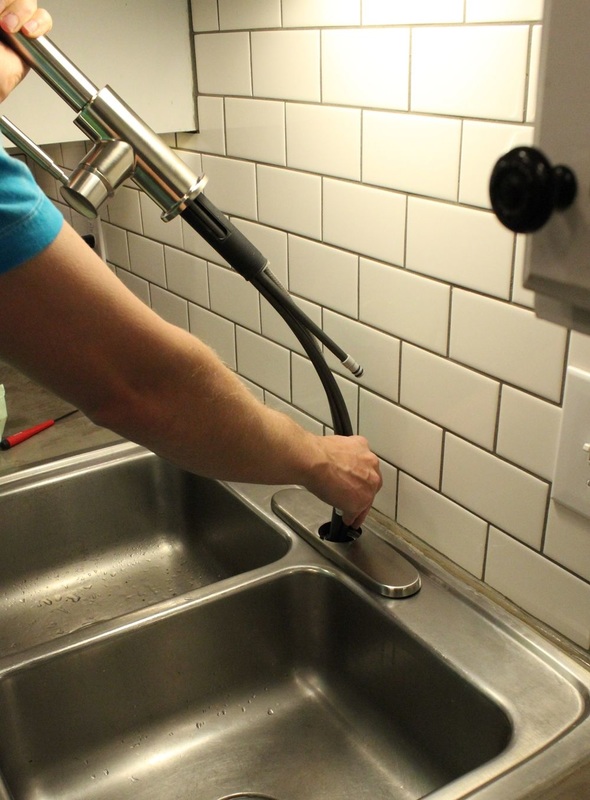 Grab the new faucet and carefully thread the hoses down through the escutcheon and center sink hole. 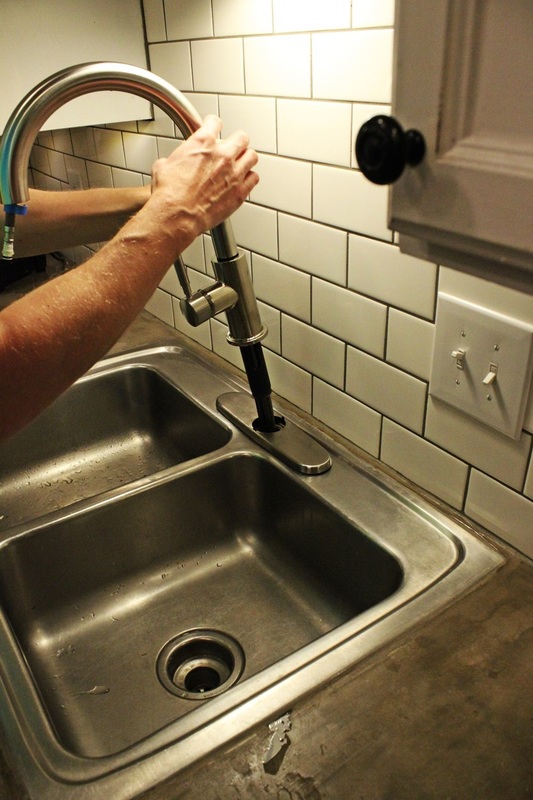 Push hoses all the way down.  Line up the hub of the faucet onto the escutcheon. (Tip: The tabs on the escutcheon should line up with slots on the bottom of the faucet hub.) Have someone hold the faucet in place up above… 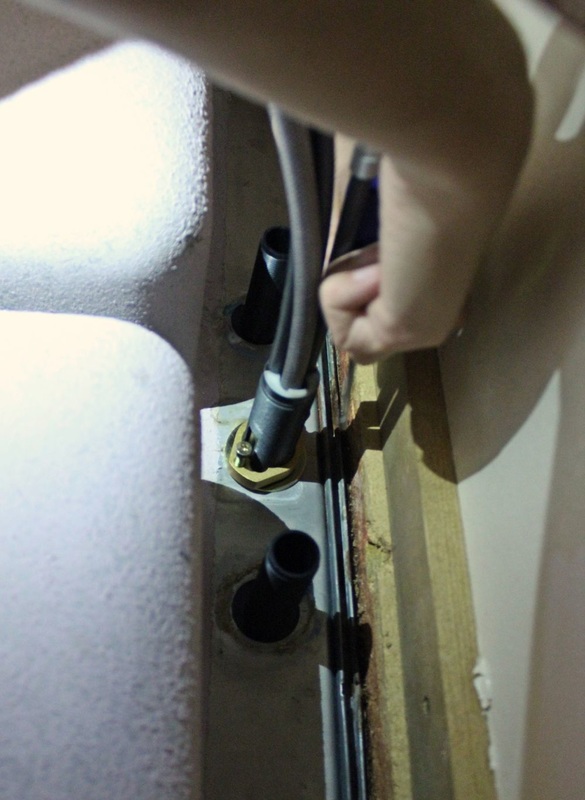 …while you head under the sink and place, then tighten by hand, the brass mounting nut and washer onto the new faucet shank. Use a screwdriver to lighten the locking screws. 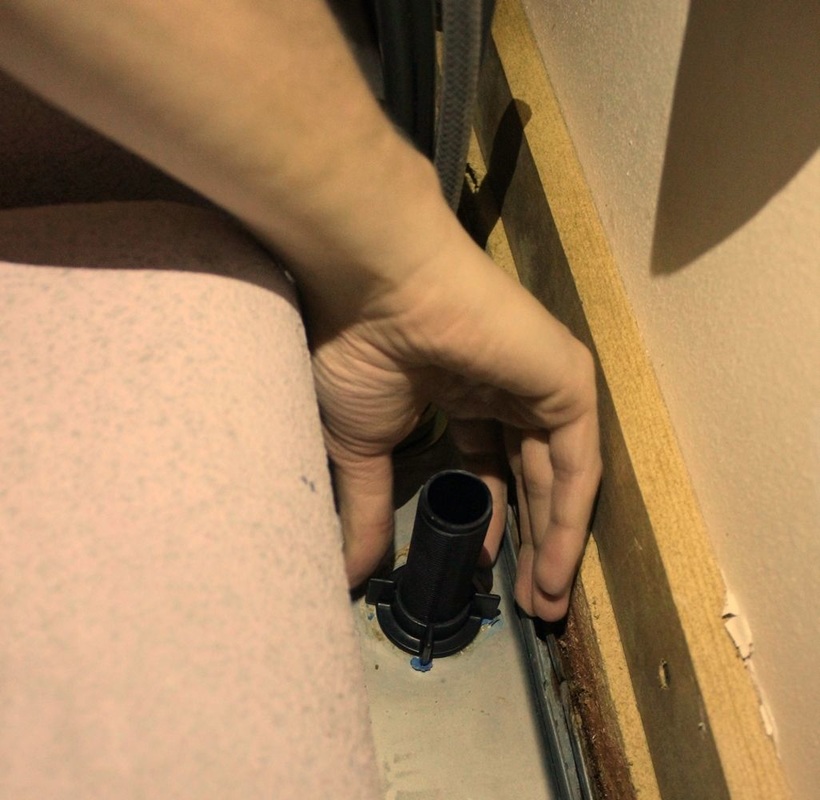 Place, then tighten with your hands, the two mounting nuts onto the under cover plate’s shanks to hold the escutcheon in place. 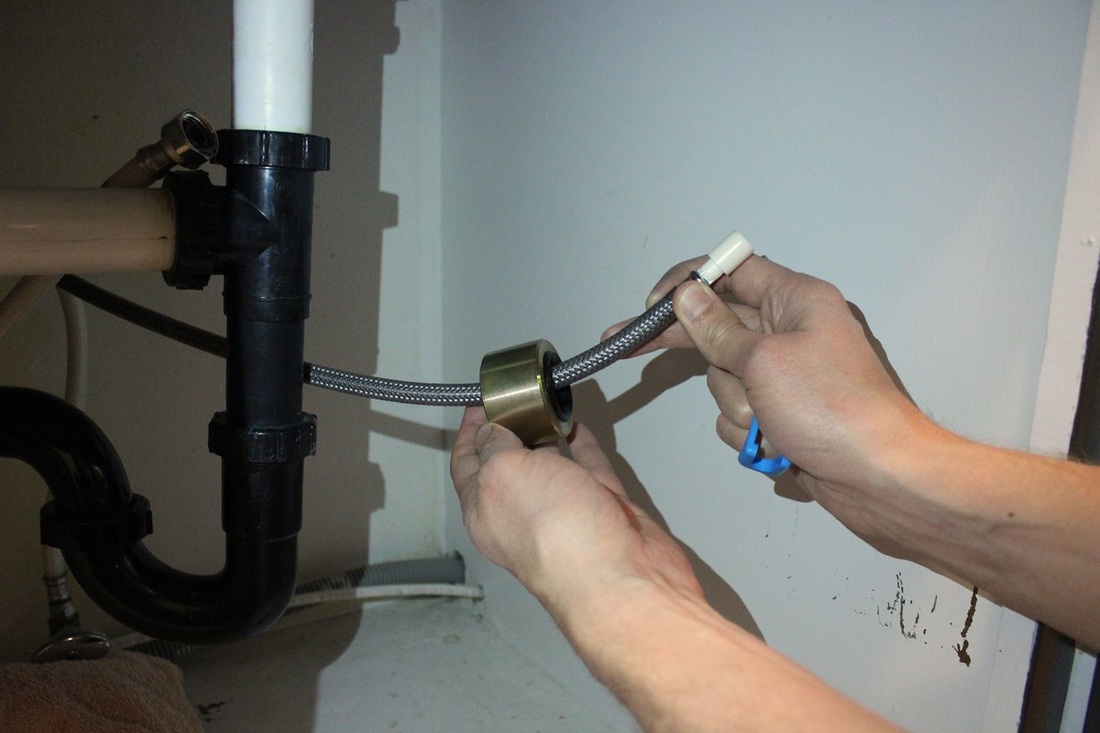 You’re almost done! It’s now time to install the hose weight. Make sure the faucet hose is still secured (generally with a plastic clip) up on the sink side so the hose doesn’t get pulled through the faucet during the next step. Under the sink, slide the weight onto the faucet hose. 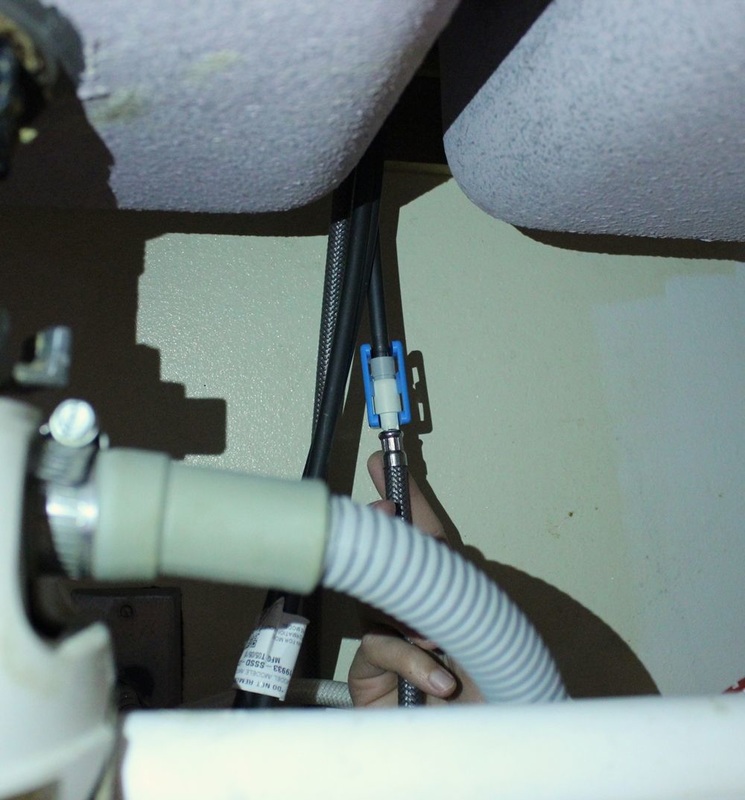 Attach the end of the faucet hose to the faucet outlet (right up under the faucet shank) with a clip or other attachment provided with the new faucet. Gently pull the faucet hose a bit to make sure it’s connected securely. 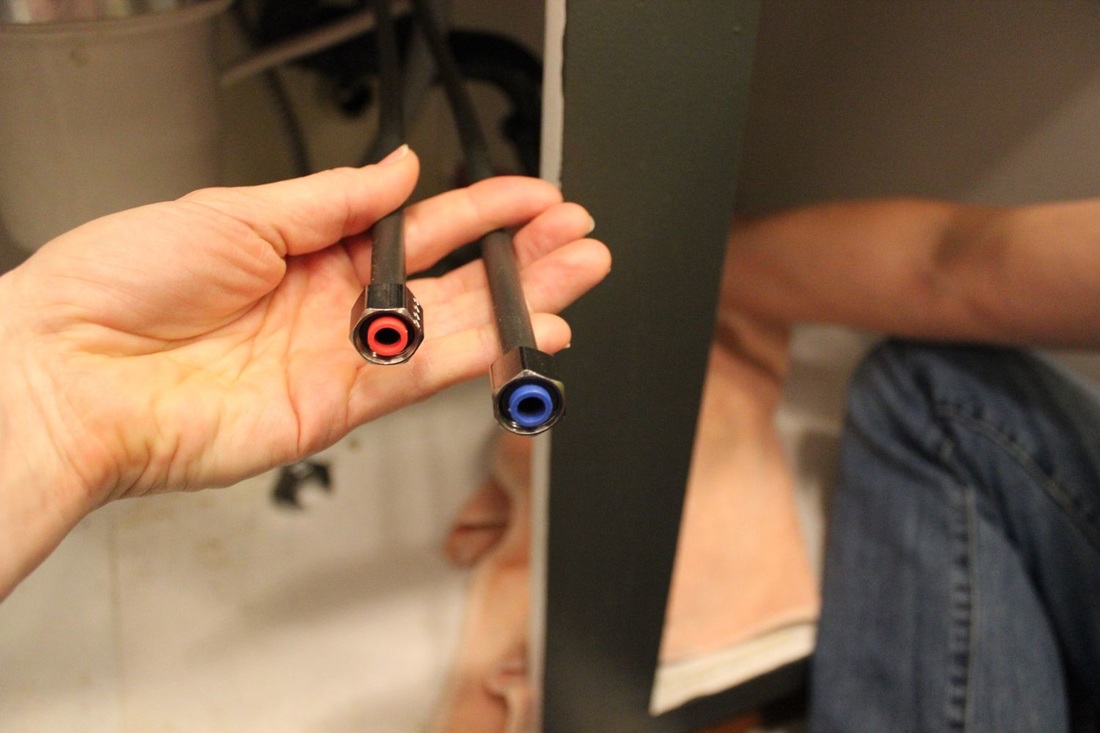 It’s time to re-hook up the water. You’ll notice Hot and Cold hoses coming out of your faucet. These need to be connected to the Hot and Cold water sources under your sink. 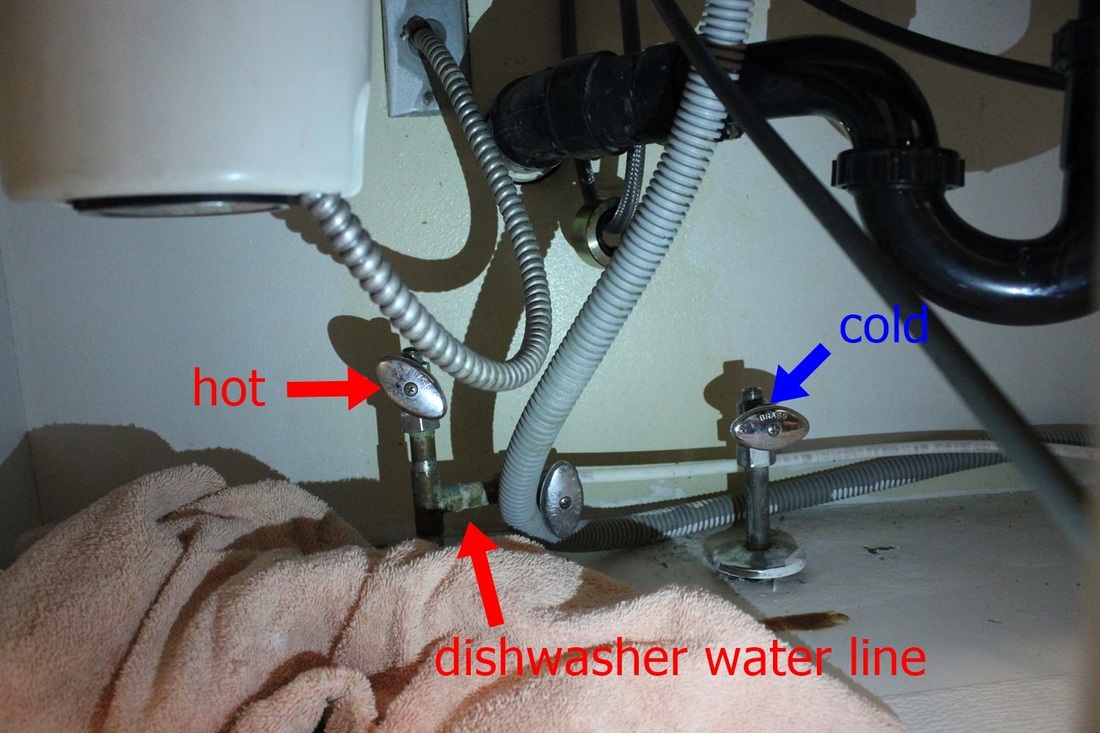 The water source that is connected to your dishwasher is the Hot line; the other is the Cold. 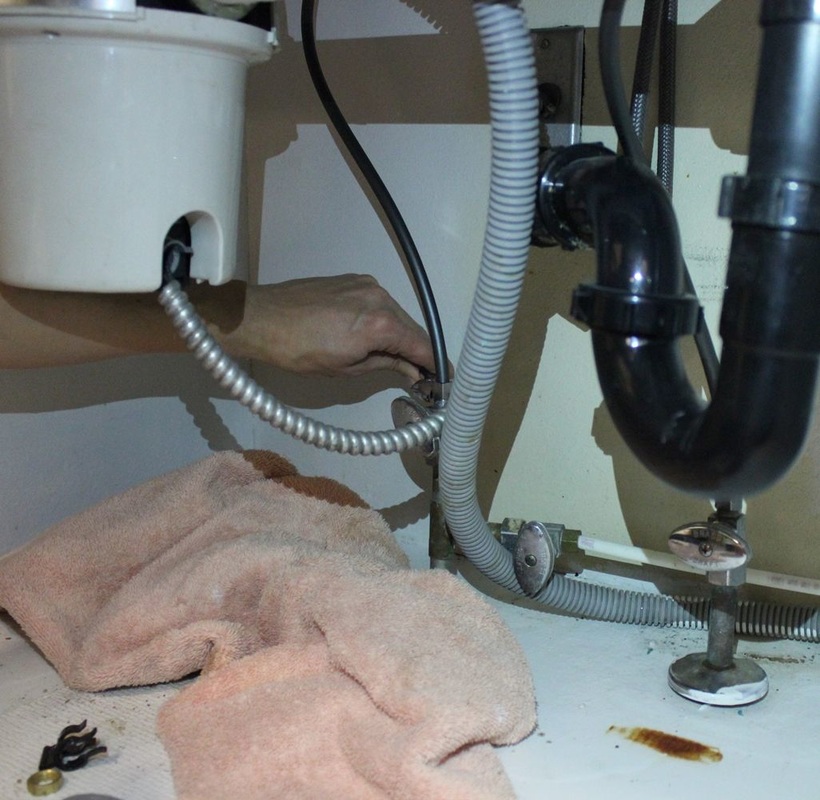 Attach the appropriate hoses to the water sources – hot to hot, cold to cold. 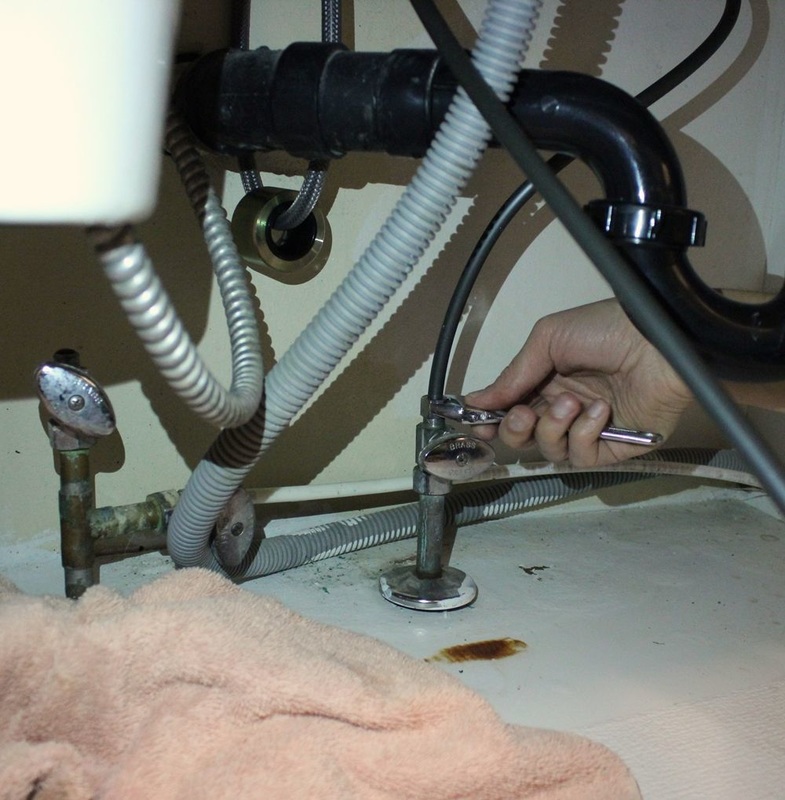 Use a crescent wrench to tighten connection, but don’t overtighten. 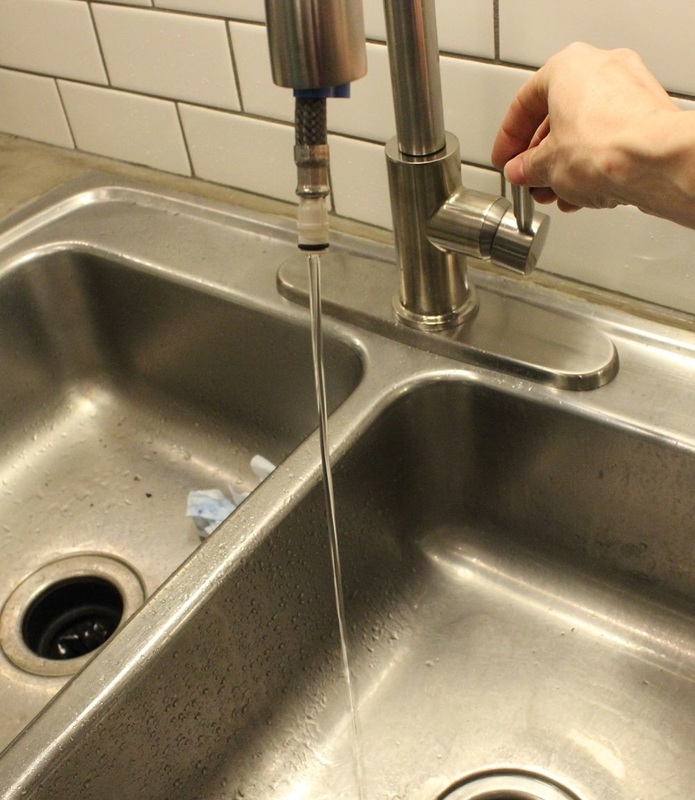 Turn on your faucet to make sure it works. Check under the sink for leaks. You good? Good! Run the faucet for a minute or two to flush out any debris. 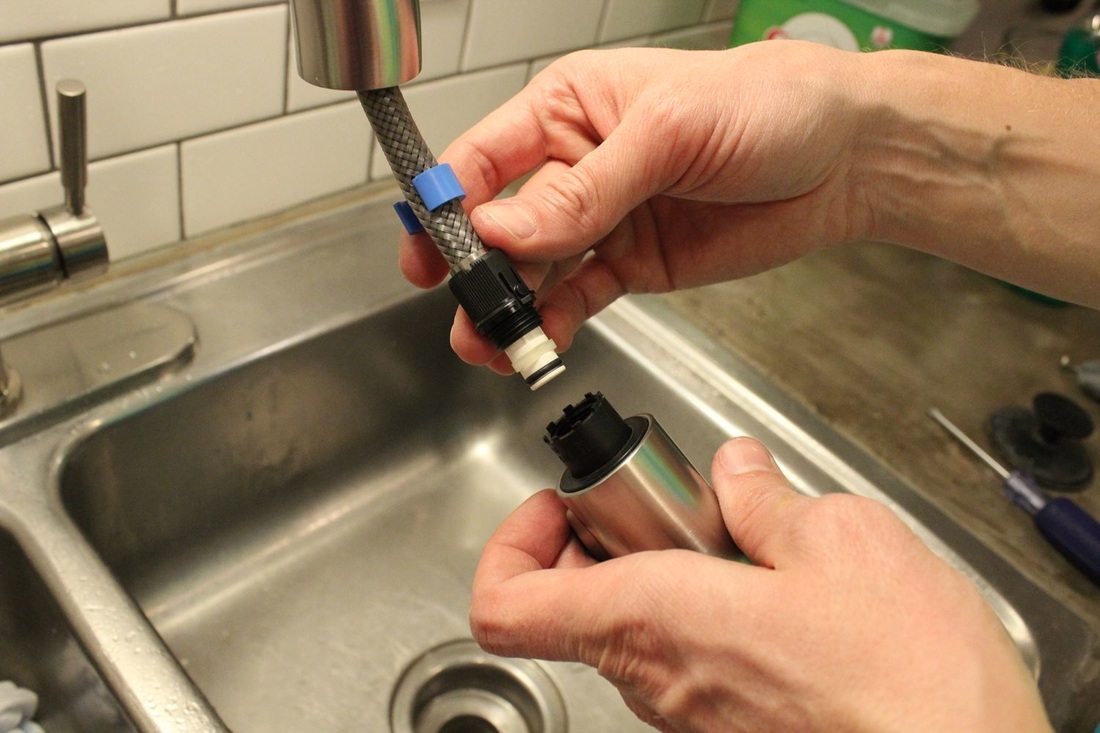 Last step is to attach the sprayer to the faucet hose.  Tighten the sprayer, then remove the clip from your faucet hose. 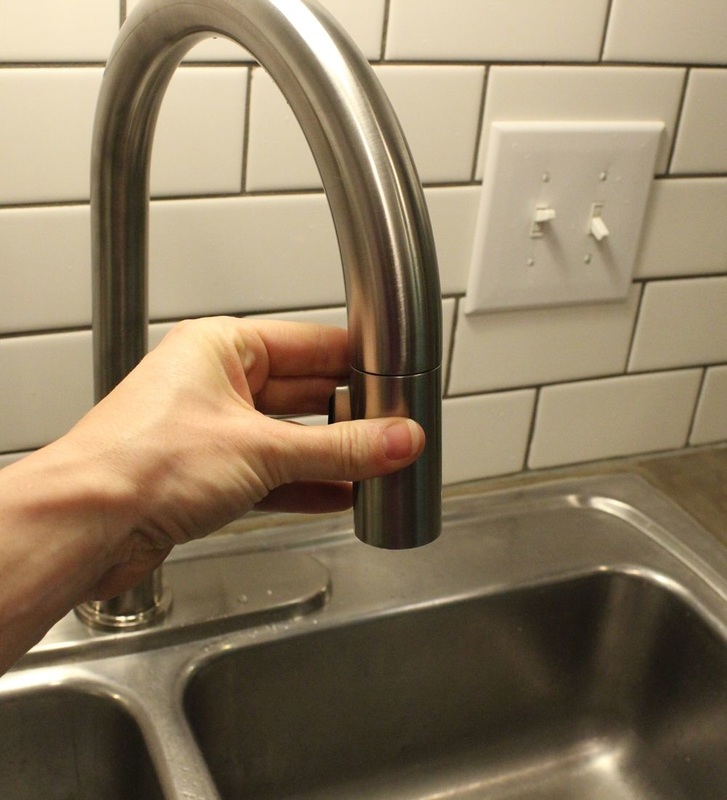 Place sprayer back up next to faucet spout. 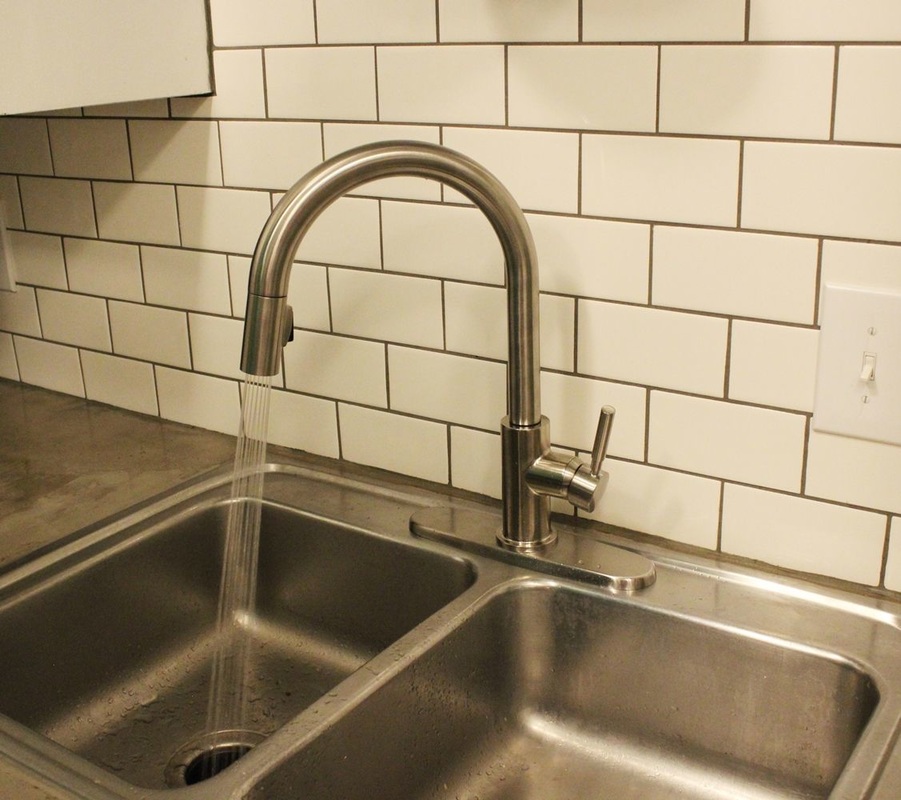 Try it out, just for fun. Double check under the sink to make sure all stays dry. 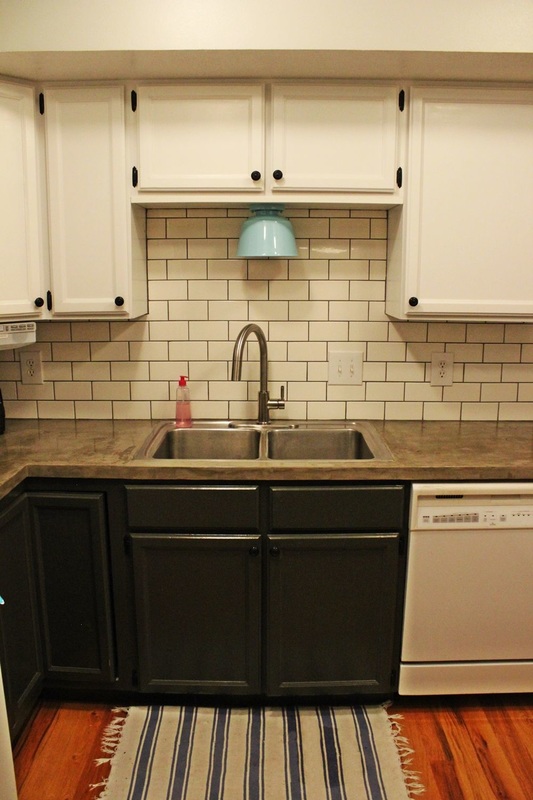 Congratulations! You’ve just installed an upgraded modern kitchen faucet! 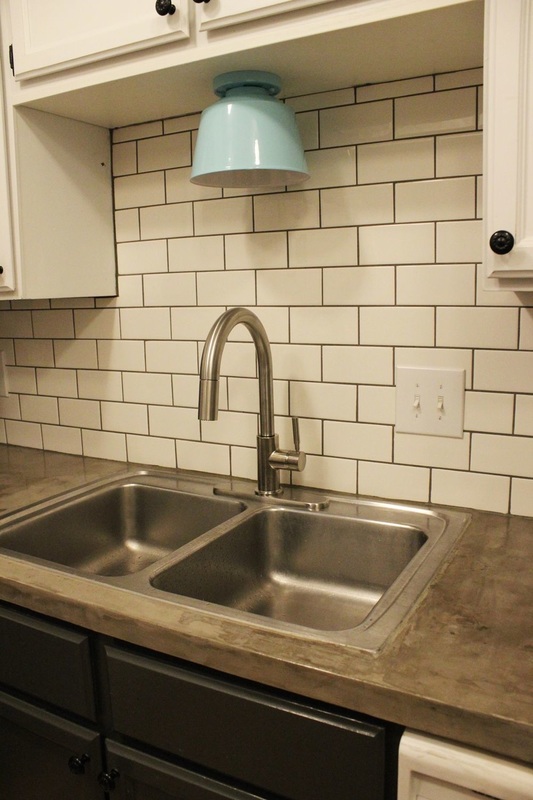 Not only does the new modern faucet NOT leak (function), but it upgrades the style of the entire kitchen (form). 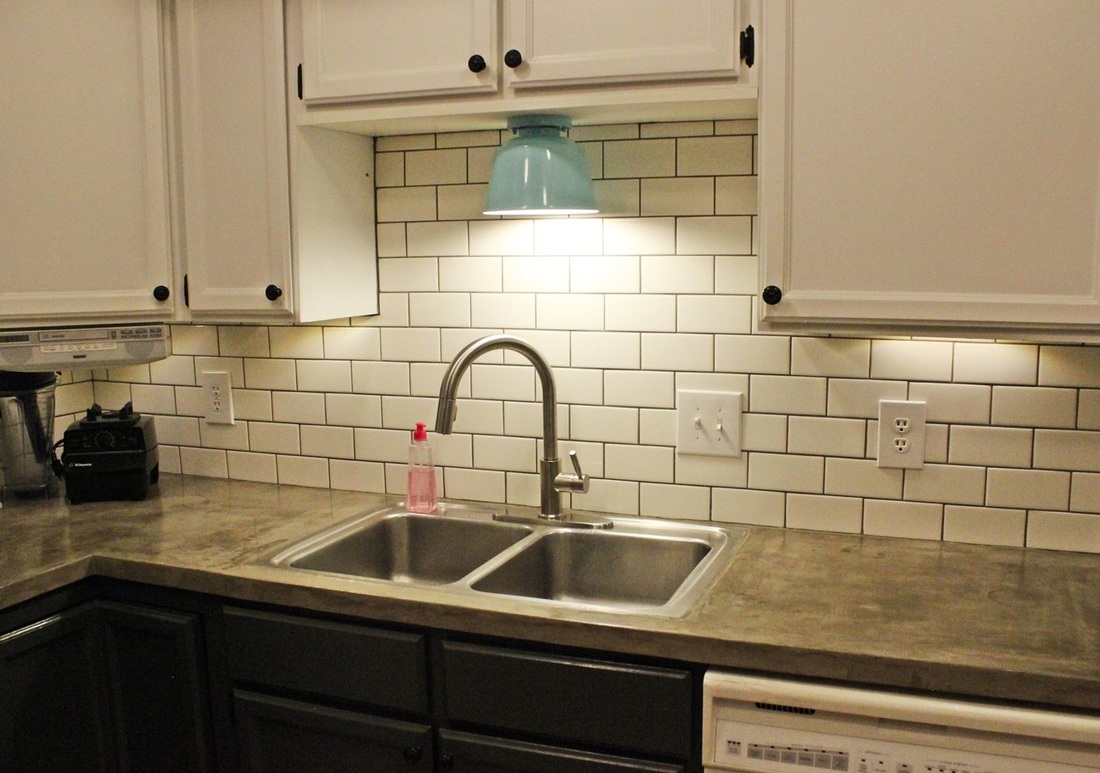 A new kitchen faucet can do wonders in making any kitchen feel updated. The scale of this particular faucet – its height in relation to the sink and in proximity to the over-sink light – lends a sense of presence. 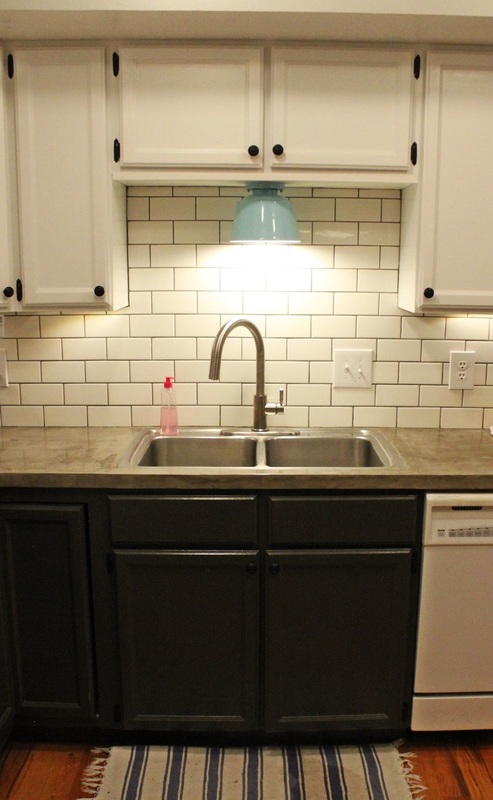 Are you surprised at how relatively easy this DIY upgrade turned out to be? I love it when that happens. 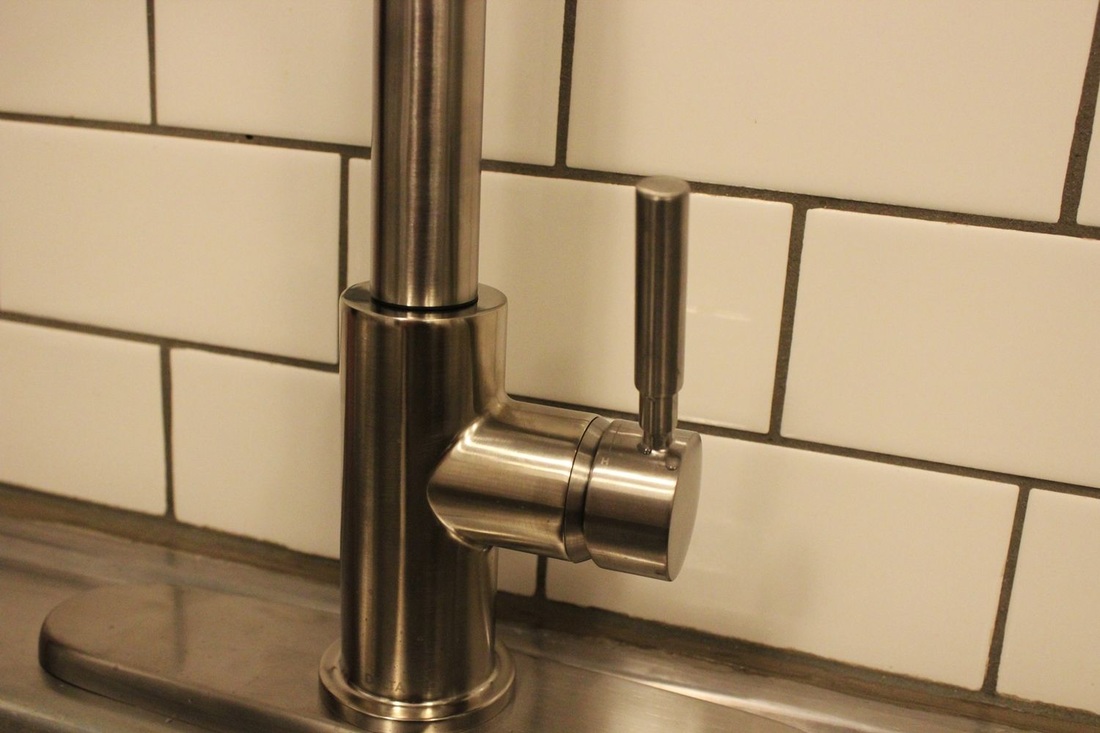 Enjoy your new kitchen faucet and the upgraded style of your “new” kitchen! 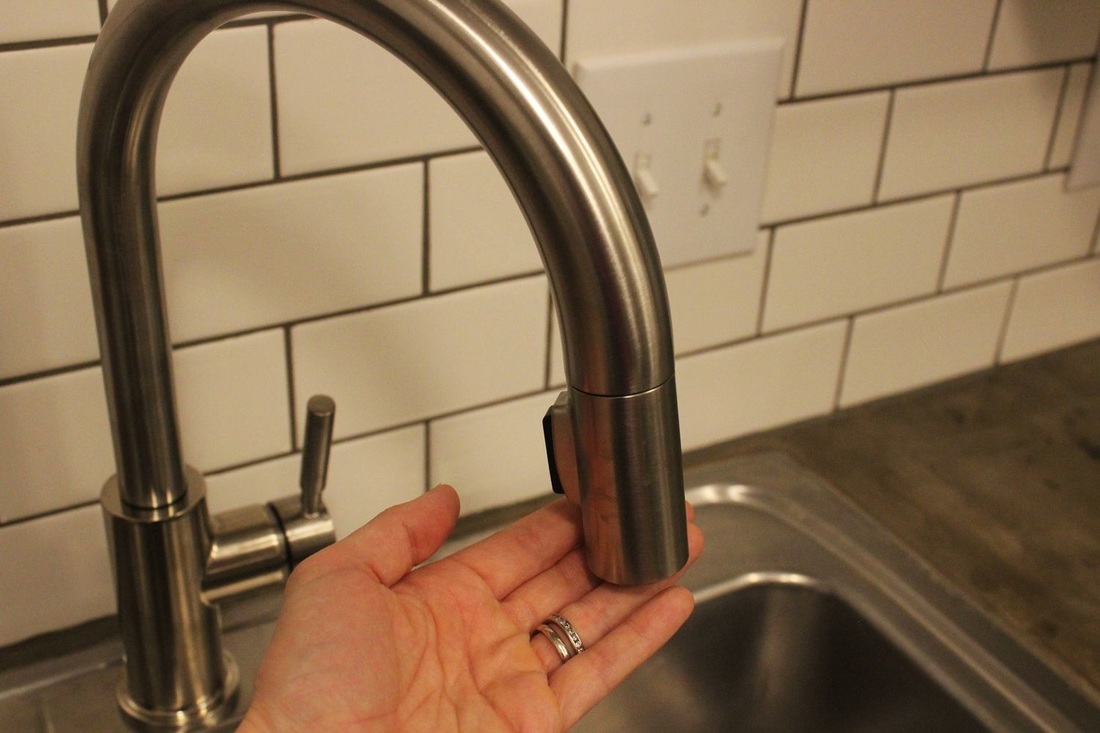 
0 Comments
Leave a Reply. |
AuthorWrite something about yourself. No need to be fancy, just an overview. Archives
October 2016
Categories |
 RSS Feed
