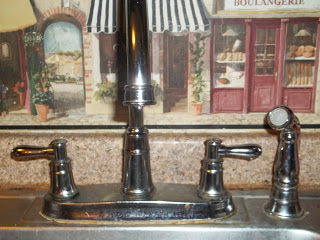
 She leaks ! Perusers of the blog realize that I'm been battling with my kitchen sink throughout recent months. Here's the precipice notes rendition: · I supplanted my flawed kitchen spigot. It was fine for a year and started to spill once more. · I supplant both the hot and frosty cartridges. That was fine for 3 months · and after that the icy water started to spill. · I supplanted only the frosty cartridge. It was fine for 3 months · until it started to spill, once more. On account of the lifetime guarantee the maker guaranteed to send me an altogether new spigot. In all honesty, I thought they were lying. After two weeks, I got this: 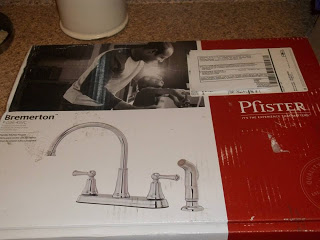 New Fauchet So now, time to introduce the new (ideally airtight) spigot. These headings are for a 4-gap set (like the one presented previously) For this venture you will require: · Faucet · Plumbers putty · Wrench · Towels · Flashlight · Newspaper · Pillow · Goggles This venture ought to in a perfect world take not exactly 60 minutes. Truly everything rises or falls on that it is so natural to evacuate the old spigot. Introducing the new spigot is quite straightforward. Expelling the old installation: 1. The principal request of business: Turn off the water under the sink. My sink has 3 handles (hot, frosty, dishwasher). I kill every one of the 3. 2. Next, turn the fixture on to the max. This will get out the greater part of the water staying in the installation. It won't dispose of the majority of the water, yet it's a decent begin. 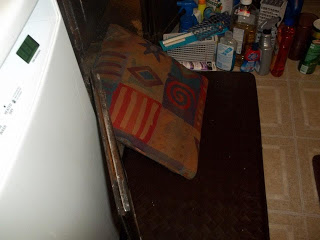 I'm short so I require a cushion for lift and solace when working under the sink. 3. Presently position your pad under the sink. I have genuinely short arms so the pad offers me both height and solace from the edge of the bureau. Keep a perfect towel helpful. When you expel the water lines water will spill out. Not excessively, but rather you're probably going to get wet (presumably all over). 4. Lie on the cushion and disengage the water lines. This will be entirely simple on the off chance that you have a more up to date spigot and will probably be cuss-commendable in the event that you have an old apparatus. As my installation is just year and a half old my water lines fell off decently effectively. 5. Presently expel the old apparatus. The old apparatus is held set up by extensive nuts. Once more, this is a simple stride with more up to date installations and may draw out your internal mariner on the off chance that you have more established apparatuses. Be tolerant and recall that WD40 is your companion. Additionally, whacking it with a torque may expel somewhere in the range of pressure and the nut! 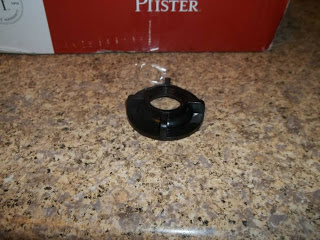 This is the nut that holds the fixture set up. 6. Since the apparatus is expelled, evacuate the nut that holds the sprayer set up. 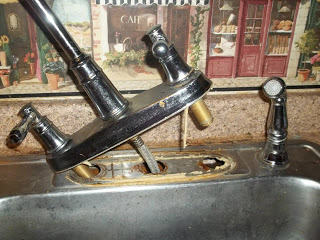 Bye old leaker! 7. Move down on top of the sink, you ought to now have the capacity to effectively lift out the old spigot and sprayer. 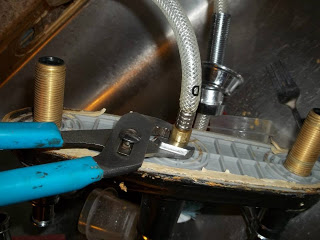 Disconnect the sprayer from the old faucet 8. Clean any gunk, handymen putty and foulness left by the old apparatus. You won't not have foulness. My spigot had foulness. 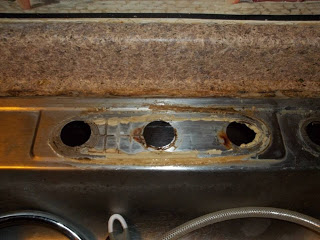 It was FILTHY underneath my faucet!  All cleaned up! Introducing the new installation: 9. Presently it's the ideal opportunity for handyman's putty. Consider handymen putty like play doh from when you were a child. 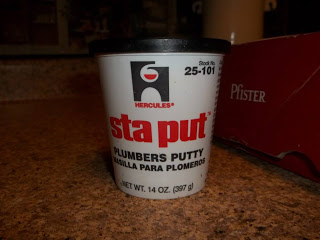 Plumbers putty! Squeeze off a bit from the blob inside the compartment and move it into a play batter wind. You'll require enough snakes to go the distance around the plastic seat thingy [not its genuine name].  Snake of plumbers putty 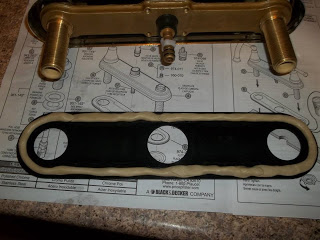 Putty all around the plastic thingy! 10. Focus the plastic seat thingy over the openings in the sink and press delicately. You simply need to apply enough weight for it to remain set up, however insufficient to truly crush the putty excessively. 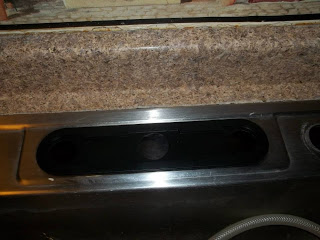 Plastic thingy pressed in place 11. Next introduce the sprayer. The sprayer will have a holder for it to rest in and a few washers. Counsel your direction sheet to ensure that you introduce every one of the washers in their legitimate request. A few washers go on top on the sink. Others go under the sink. 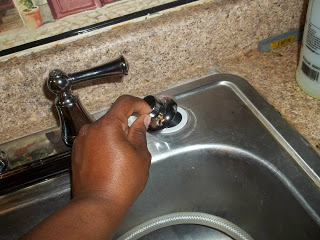 Seat thingy for sprayer hose 12. With the splash spout introduced, wind the shower spout through the inside opening of the sink. [This will spare you somewhat of a migraine later]. Presently join the splash spout to the new apparatus [per the direction sheet]. 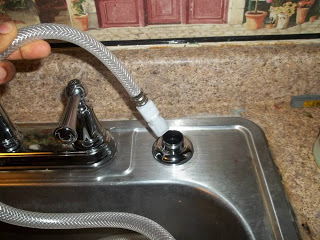 Install sprayer hose 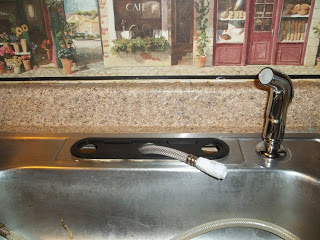 Pull hose through center hole 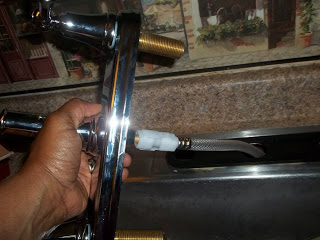 Attach sprayer hose to faucet 13. Focus the new installation over the plastic seat thingy and press a bit to hold it set up. 14. Presently fix the new installation set up with the nuts gave. I propose hand fixing the nuts then give a ¼ turn with a torque. 15. Connect the water line. Once more, hand fix, and after that complete the process of fixing utilizing the torque. I make these interfaces are tight as I can get them. 16. Turn the water on ensure everything works! 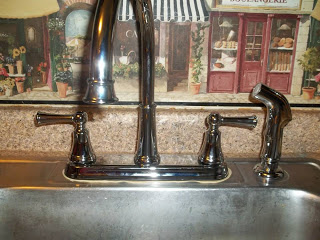 ALL DONE!!! As indicated by the headings that is basically it. By and by, I get a kick out of the chance to test my work. The last darn thing I need is to find some irritating release in seven days. Here's presently you test your work: 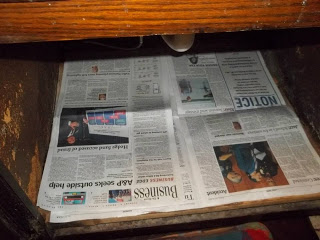 Leak testing - Place newspaper under sink Before you set everything back under the sink, spread daily paper under the sink and abandon it for a couple of hours. On the off chance that you return later and the paper is dry you're all done. In the event that there is a wet stamp (even a little one) on the paper, circle it.  I found a tiny leak Presently hold up 30 minutes and check your wet spot once more. On the off chance that the wet spot has become bigger than your circle, you have a dynamic hole. Look at the associations specifically over the wet spot to discover your hole. 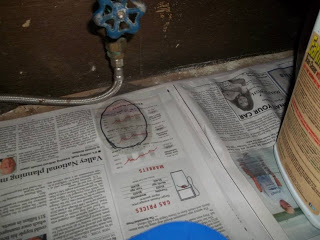 Oh no! This is an active leak! The most widely recognized reasons for breaks are broken water lines or free associations. Kill the water, detach and after that re-fix your associations. Put down another bit of daily paper. In the event that despite everything you have a hole you may need to supplant your water line. The water line can look fine and dandy, however the washer hanging in the balance might be worn or missing. Take the old waterline to the store with you when you go to purchase the new one. That way you know precisely what you're searching for.
Once you've settled your holes and the daily paper is dry, you're good to go.
0 Comments
Leave a Reply. |
AuthorWrite something about yourself. No need to be fancy, just an overview. Archives
October 2016
Categories |
 RSS Feed
